There are tons of DIY car projects that you can accomplish by yourself. They save you a lot of money when you do them yourself and you get to learn a lot of things about your car. It’s also very good exercise.
We are not discouraging you to go to a mechanic or handyman to do some car projects for you. Leave the complicated ones to them. Our list here counts 40 DIY projects which we believe, armed with the right knowledge and procedures, you can do successfully yourself.
The best thing that can happen here is that you’re enjoying yourself with the DIY tasks.
Read on.
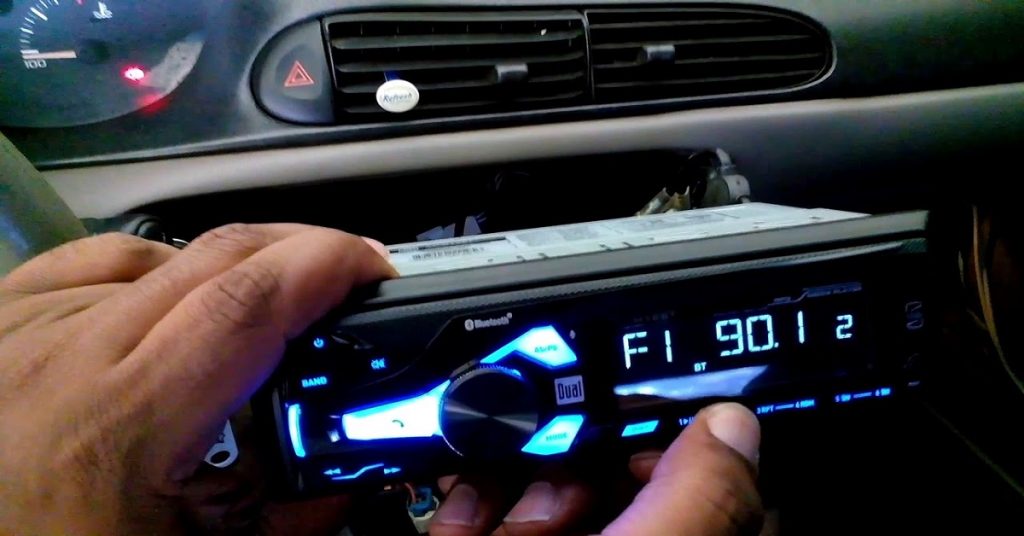
1. HOW TO FIX A CAR STEREO THAT HAS NO SOUND
The music is playing along happily in your car as you hum along. You are in a cheerful mood and then suddenly…snap… the car stereo drops out and becomes silent.
Relax, breathe in and out. Don’t just stop anywhere. Go to a populated area where you can park and check your car stereo.
There are many reasons why it malfunctioned. It could be a grounded or shorted wire. The speakers could be busted or defective and can’t take it anymore. Or some fuses inside could have blown. Or it could be something silly wherein all the settings on the car stereo are set to a minimum, that’s why you can’t hear anything.
Figure it out from any of these possibilities and you’re on the way to listening to your favorite songs again on the road.
FOR THE STEPS IN CHECKING EACH POSSIBLE CAUSE, GO HERE.
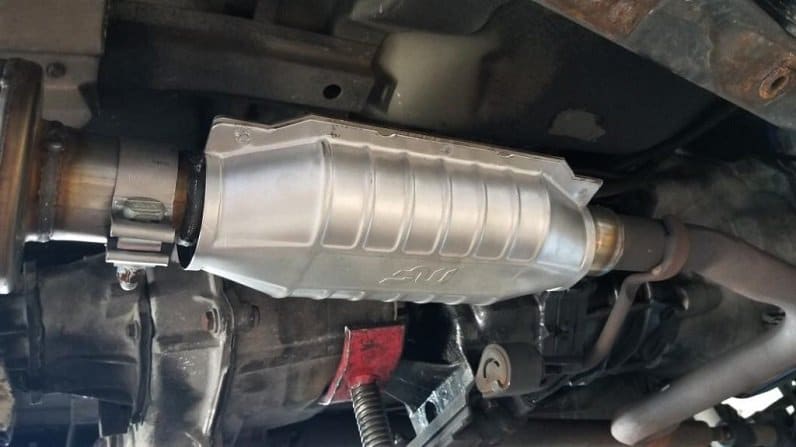
2. HOW TO INSTALL A UNIVERSAL CATALYTIC CONVERTER
The catalytic converter became mandatory as a car component when increasing concern about air pollution became a worldwide issue.
You can avoid repair or replacement of your catalytic converter by following your car’s recommended schedule of maintenance. Always keep your combustion, emission and exhaust systems in good shape.
But in the long run, through wear and tear, a replacement is necessary. If you remove your catalytic converter, you need to put in a replacement unit. Universal Catalytic Converters may require modifications to your car’s combustion system, but they are designed to fit a wide range of car makes.
If you want to perform the installation of the universal catalytic converter yourself, you need the following tools:
- The new universal catalytic converter
- Ratchet and Socket set
- Oxygen Sensor Socket
- Penetrating Oil
- Jack Stands
FOR THE COMPREHENSIVE PROCEDURE, PLEASE REFER TO THIS LINK.
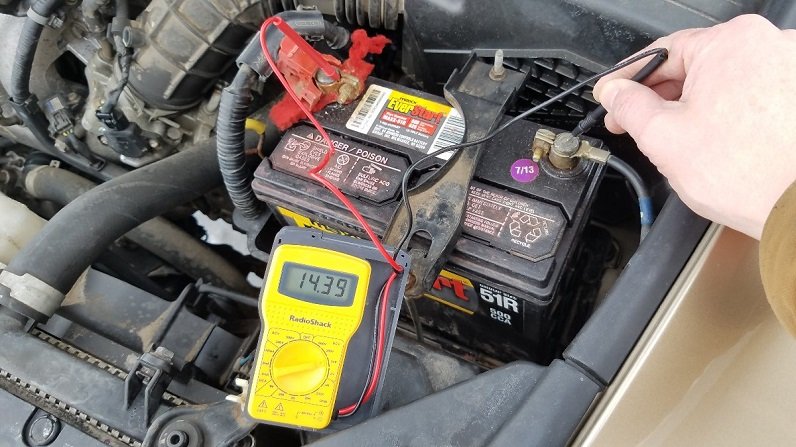
3. HOW TO JUMPSTART A CAR
If in case a stranger accepted your offer for assistance when his car battery bogged down, let him call and inform a trusted person about what’s happening at the moment. As for your own protection, you should also call someone about your whereabouts because jumpstarting somebody’s car might take several minutes or hours to complete.
People might be expecting you home at a certain time, and if you can’t arrive promptly, they don’t need to worry.
First things first. For your own battery’s sake, check the condition of the battery being jump started. Is it frozen? Is it cracked or leaking? Is the battery very dry? Have the fellow check the individual cells for fluid levels and let him add water accordingly.
A leaking, dry or frozen battery is bad news. If these are the symptoms, it’s better for the distressed motorist to have his car towed to the nearest point where he could ask for help.
For your own sake, always equip your own car with Jumpstart cables at the back because these accessories are not always available on the road. You’ll never know when you’ll need them too, or another poor chap whose car broke down on the road.
FOR THE WHOLE PROCESS OF JUMPSTARTING A CAR, CLICK HERE.
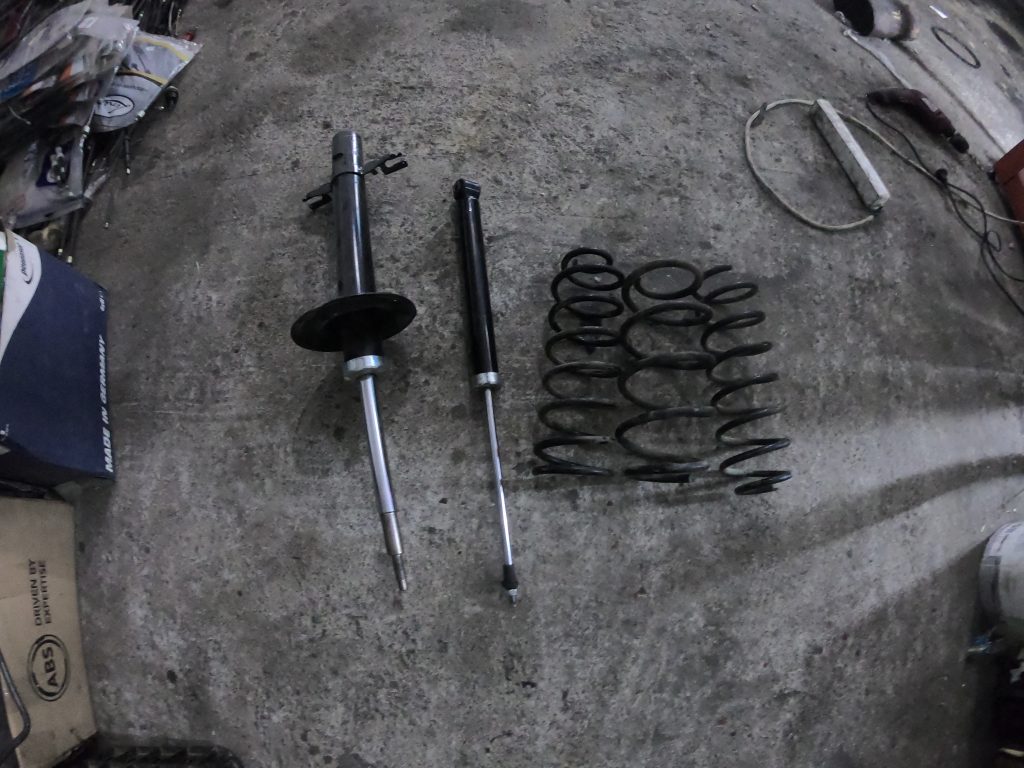
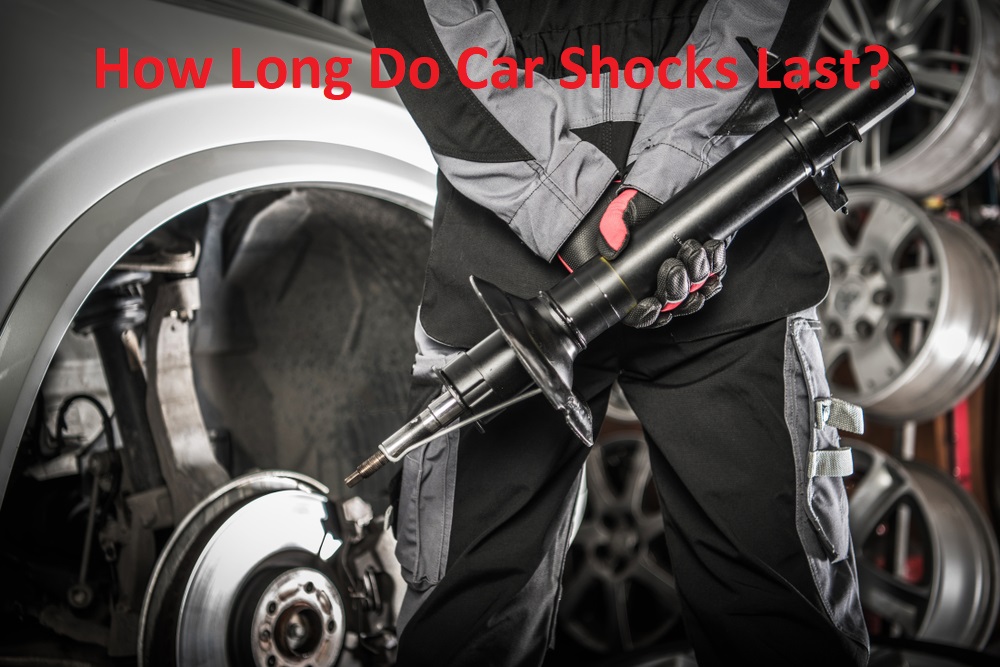
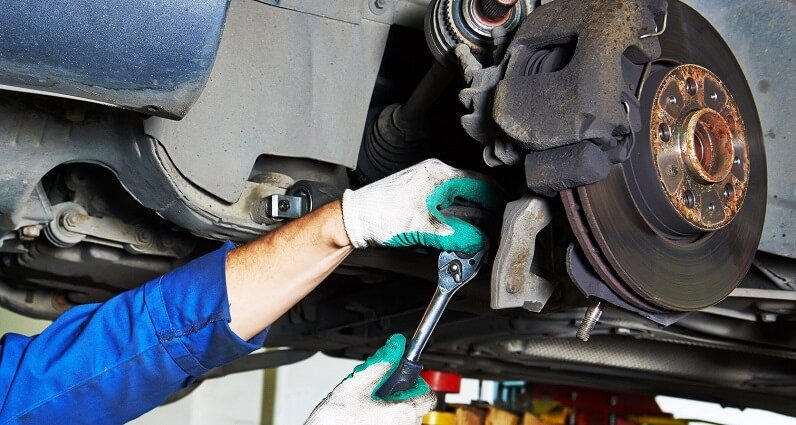
4. HOW TO REPLACE SHOCKS – DIY CAR MAINTENANCE
Save up money on labor cost by replacing shocks DIY. You’ll be shocked how much mechanics charge nowadays.
You should know if your car requires independent shocks or if it is part of a suspension strut. When you’re at this phase, analyze if you want to upgrade the quality of your shocks.
Acquire the tools that you need to replace your shocks. And allot at least 4 hours for the whole process to make time for trial and error. Consult the car manual, or the suspension brochure, make time to talk to someone knowledgeable, or request that person to be with you when you do the whole process (especially when it’s your first time to do it).
For the whole procedure of replacing shocks, GO HERE.
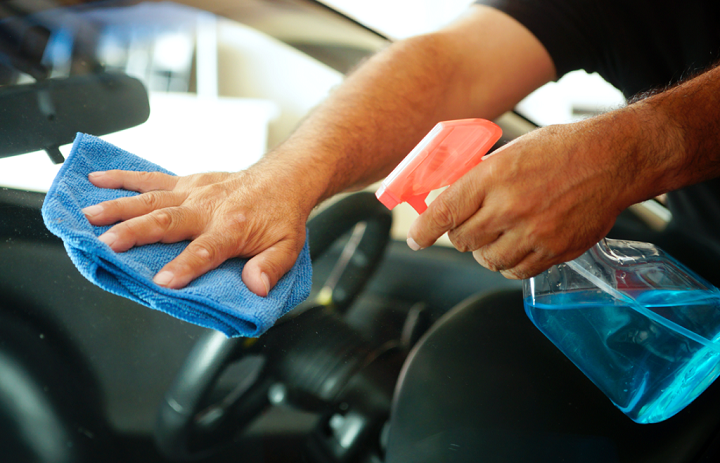
5. HOW TO CLEAN WINDSHIELD HAZE? EVERYTHING YOU NEED TO KNOW
Having a hazy windshield is dangerous. You can’t see what’s happening on the road clearly.
Normally, there are 3 reasons for the disturbance of windshield haze. It could be from a clogged cabin air filter, a heater core that leaks, or your vinyl upholstery that has elements that vaporize. They all cause haze on the inside part of your windshield.
You solve this problem by either buying products in the market that are designed especially to clean windshields and car windows. Or you could make your own homemade mixture of vinegar and distilled water or another DIY option of rubbing alcohol.
For all your reasons why you have windshield haze, and the solutions to eradicate it, LINK TO THIS.

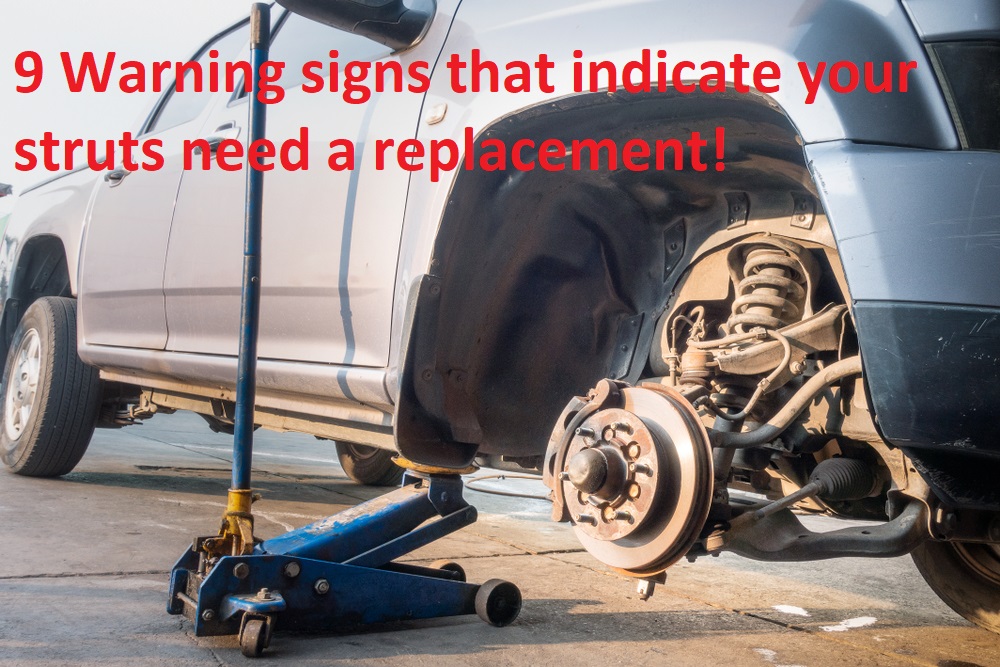
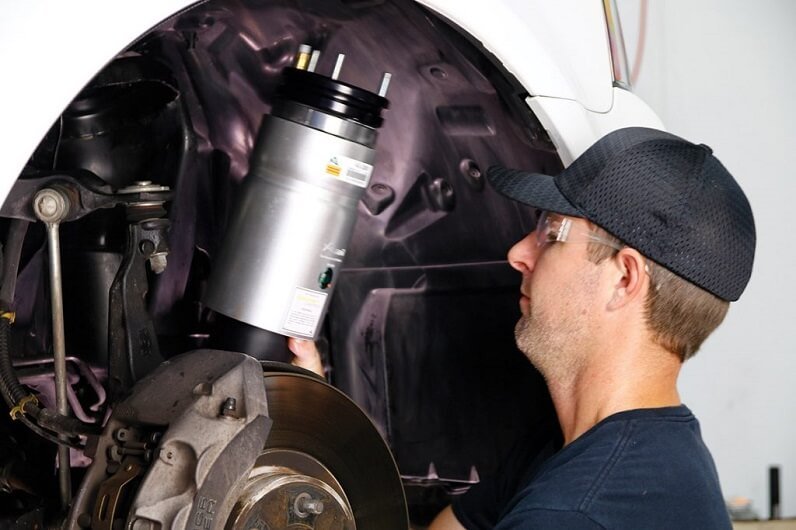
6. HOW TO REPLACE STRUTS ON YOUR VEHICLE BY YOURSELF
If you know how to replace your shocks, you should also know how to replace struts. Likewise, you save a lot of money by foregoing the mechanic hiring aspect and you also get to learn a lot by doing the replacement yourself.
Struts are important parts of your car’s suspension system because they provide structural support. And they are also the link of the wheels to the car body and suspension system. It’s like this – the struts are on top of the chassis, and coil springs are on top of the struts.
You’ll know when the struts need replacement. Signs like bouncing, strange noises, inconsistent tire wear, difficult handling and poor braking will be the symptoms that you have to heed.
FOR THE TOOLS YOU NEED AND THE STEP BY STEP PROCEDURE, READ THIS.
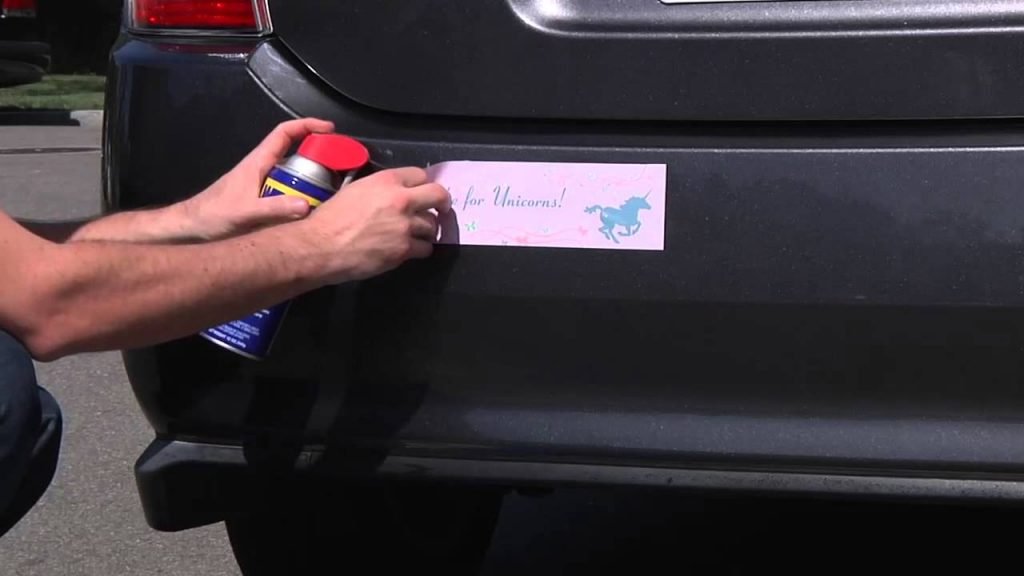
7. DEBADGE YOUR CAR – THE BEST GUIDE OUT THERE!
Many car owners want to to get rid of badges around the vehicle that they don’t like. Maybe it’s because they like the look of the car without the badges or they want to change the styling of the car.
The most probable thing that you use to debadge your car are simple tools around the house or just maybe by hand, you debadge the car. Then afterwards, you apply a layer of wax to cover the leftover marks of the badge.
It is best that you see whether a particular badge is attached to the body by adhesive, by clasps, or by bolts. Your prime objective is to get the badge without further damaging what’s left from the spot you got it from.
FOR FURTHER INSTRUCTIONS ON HOW TO EFFICIENTLY REMOVE A BADGE, PRESS HERE.
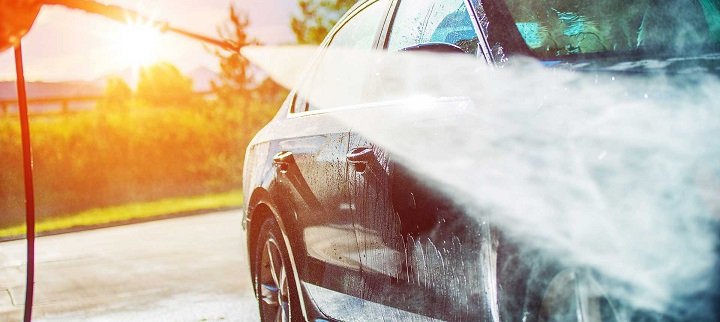
8. DIY CAR WASHING: HOW TO KEEP YOUR VEHICLE LOOKING FRESH
Washing your vehicle is perhaps one of the car projects that you can always DIY, always free of charge. It’s also great exercise!
Plus you bring back your car’s shine and you also increase its lifespan because washing protects its paint job. It also means better visibility for you because constant washing keeps out the dirt and grime. And when it’s time to sell it, you get a good price because it looks attractive to the buyer when it’s spic and span.
We will be only covering the washing of the car exterior. The interior cleaning will be in a different section. Place the car in a sunny location to maximize the cleaning benefits.
FOR THE WHOLE PROCESS OF CAR CLEANING, LINK HERE.
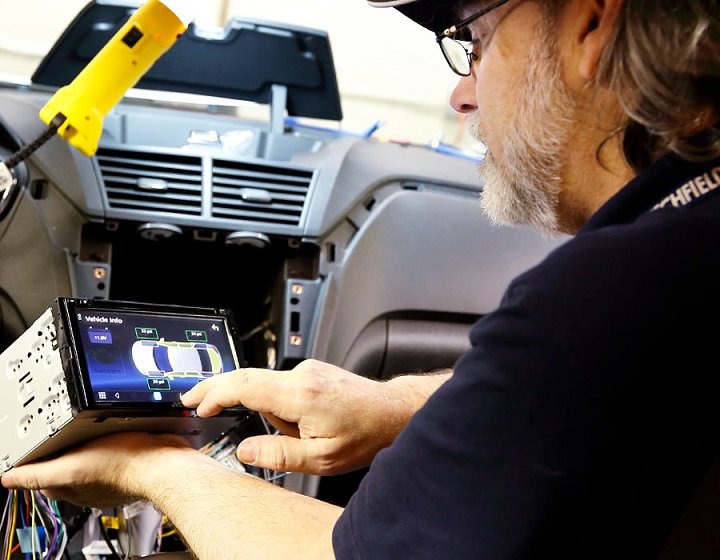
9. HOW TO INSTALL A CAR STEREO – GETTING EVERYTHING RIGHT
It is unthinkable to own a car without a car stereo. It’s almost like a part of the anatomy of a car.
You might already have an old car stereo which you want to replace with a new and more advanced one. You should first disconnect the old one from the car battery and put on the parking brake.
You have to unscrew wires and then you also have to make sure that the wiring design left off by the old stereo matches the wiring needs of the new stereo.
FOR THE COMPREHENSIVE PROCEDURE, FIND IT HERE.
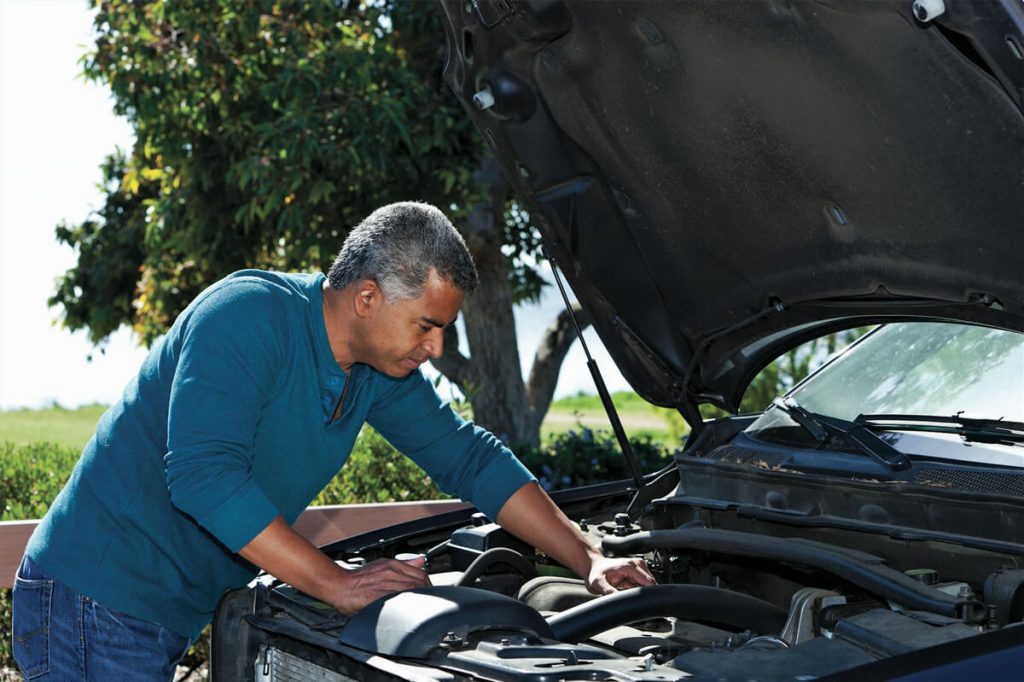
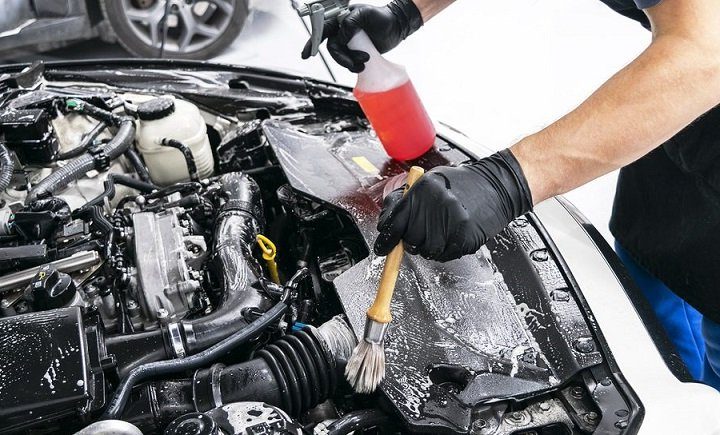
10. CLEANING THE CAR ENGINE – HOW BEGINNERS CAN DO A GOOD JOB
If you’re habitual with your cleaning and washing of your car body and interiors, don’t forget the engine too! It’s just as important a part of your vehicle.
You should take heed that different car makes have varied engine configurations. Supercars have their cylinders usually formed in V formations. Other cars have their cylinders side by side, across the engine bay.
No matter what, keep your engine clean DIY to avoid visiting the mechanic.
Before starting the process, disconnect the battery and extract unnecessary debris. Then, plastic bags and cling wraps are used to cover sensitive parts like the wiring and electronics.
FOR THE WHOLE CLEANING PROCEDURE, INCLUDING DEGREASING, REFER HERE.
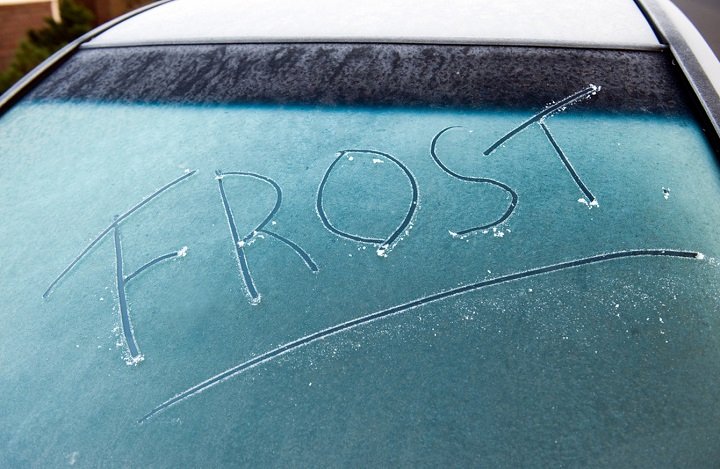
11. CAR WINDOW FROST – WAYS TO GET RID OF IT
Frost forms in our car because of the change in temperature from high to low. Another way of explaining it is that air is cooled down fast which produces condensation on the car glass.
One easy way to avoid frost is to spray running alcohol or vinegar on the glass. Other methods are de-icer solution, warmed rice, sodium acetate or even a credit card! Different solutions require different procedures. Choose one method wherein the materials needed are right there waiting for you.
FOR MORE INFO, CLICK HERE.
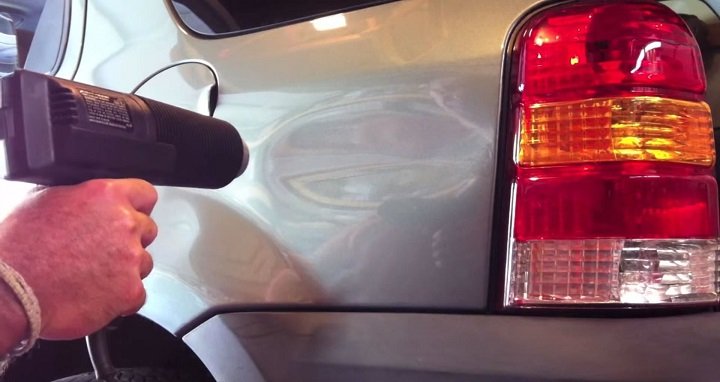
12. FIXING CAR DENTS – THE REPAIR EVERY BEGINNER NEEDS TO KNOW ABOUT
Fixing car dents by yourself might sound complicated, but it’s entirely the opposite when you do it by yourself. If you follow some procedures and use some simple materials, you will save a lot of money if you’ll not have the dents fixed at a repair shop.
Look for all the shallow dents that are not on the car edges and measure them. They should have a diameter of not more than 3 inches. You’ll need a can of compressed air, insulated rubber coated gloves, dry ice, aluminum foil and a hair dryer.
When you repair DIY dents, you maintain the integrity of the car’s body and paint jobs, and increase its resale value.
FOR THE WHOLE PROCESS, PRESS HERE AND SAVE MONEY.
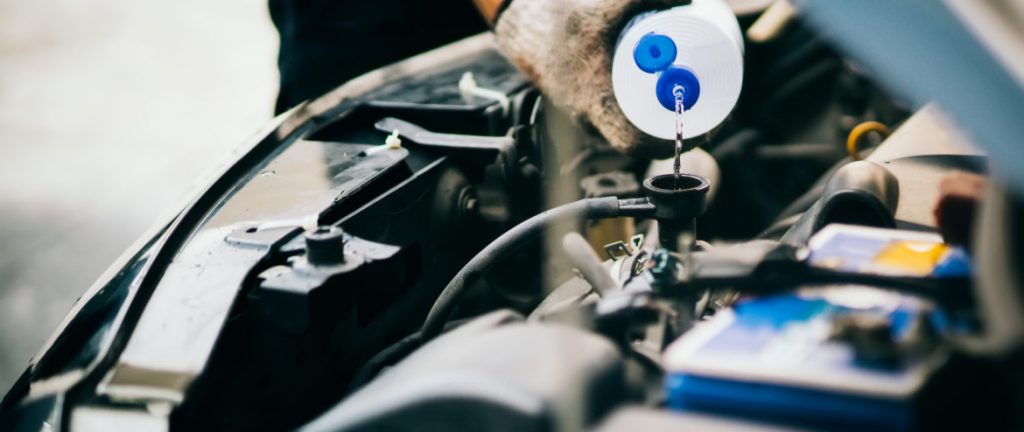
13. HOW TO ADD WINDSHIELD WASHER FLUID: MAINTAIN A SPARKLY CLEAN FRONT VIEW
Maintaining the cleanliness and clearness of your windshield is paramount to your safety while driving on the road. You can do it by manually wiping the windshield or with the use of windshield washer fluid which is sprayed on the windshield and then wiped clean by the windshield wiper.
Use windshield washer fluids that have environment friendly ingredients.
A typically safe washer fluid contains alcohol, water, solvents and detergents that get rid of the grime and dirt on the windshield.
You should check your washer fluid reservoir from time to time for its level. But don’t overfill it because it can expand due to the heat coming from the engine.
FOR THE FULL REFILLING PROCEDURE OF WINDSHIELD WASHER FLUID, REFER HERE.

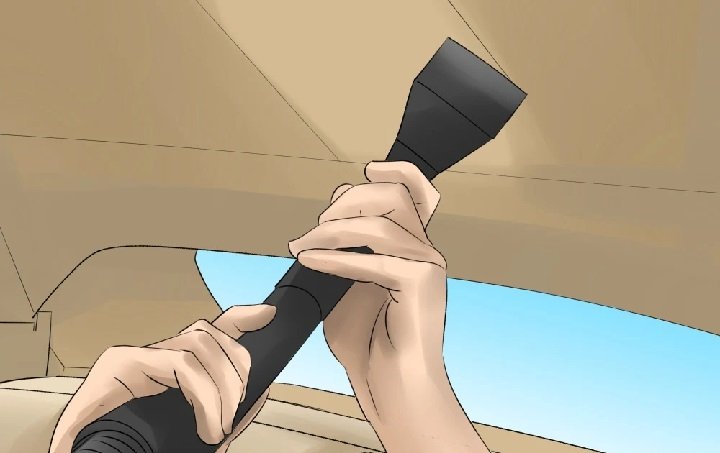
14. HOW TO CLEAN THE CAR CEILING – KEEPING THE INTERIOR SPOTLESS
Do you want to know how to make your car ceiling and interiors clean and spotless? Just like how it looked when you first bought the car?
The interiors are prone to smudges wherever your hands touch. You might be eating inside the car or the kids are throwing things around… and splat… a dark spot appears on the ceiling to your dismay!
The car ceiling is made of tricot knit fabric, foam and backing. You will need a soft bristle brush and a car upholstery cleaner which you can buy from a shop or formulate yourself. Plus, you’ll need white vinegar, warm water and liquid soap.
SO THAT YOU WON’T MAKE MISTAKES, REFER TO THIS.
15. THE BEST WAY TO CLEAN TINTED CAR WINDOWS
Tinted windows are not only for aesthetics but also offer other benefits such as protection from the sun for you and your passengers and also for your car interiors. And the interior temperature is also made cooler.
Tinted windows also block prying eyes of thieves who can’t be able to see what are the valuables inside your car.
When you clean your tinted windows, you should park in the shade for best results. You’ll need an ammonia free cleaner, microfiber cloth, a bucket and distilled water.
For lesser expense, you can also make your own ammonia free cleaner with 91 percent rubbing alcohol, distilled water, baby soap and a spray.
ON HOW TO MAKE IT AND THE WHOLE PROCESS OF CLEANING YOUR TINTED WINDOWS, GO HERE.

16. REPLACING YOUR VEHICLE’S GAS LIFTS: EVERYTHING YOU NEED TO KNOW AND MORE
The gas lift is the lifting mechanism which raises, supports and lowers some important parts of your car such as the hood, the trunk or the rear hatch.
On the insides of gas lifts are pressurized gas (nitrogen) and oil sealed inside the cylindrical housing. This allows a piston to move up and down.
These gas lifts, over time, become unstable and become dangerous to use. You should find the correct gas lift replacement. They have a set of numbers which are usually placed in their thicker parts. Based on this information, ask for these in your favorite auto supply store.
Do the replacement DIY to save on labor costs. You need a socket or ratchet set, a small flat blade screwdriver, and your new pair of gas lifts.
REFER TO THIS FOR INSTRUCTIONS.

17. HOW TO CLEAN CAR WINDOWS – WHAT MAKES FOR A SPOTLESS GLASS?
Clean car windows make for great visibility while you drive. Grime and dirt can build up mercilessly if you are lazy with windshield and window maintenance. Your windshield wipers can also break prematurely because of too much debris.
Gather all your cleaning supplies. First in the list is an automotive glass cleaner. Some cleaners are diluted and some are not.
If it’s not diluted, mix it with distilled water. If it’s already diluted (concentrated), get a bucket, a sponge, wiper treatment and a microfiber or clean cotton cloth.
NOW, START THE CLEANING AND PRESS THIS.
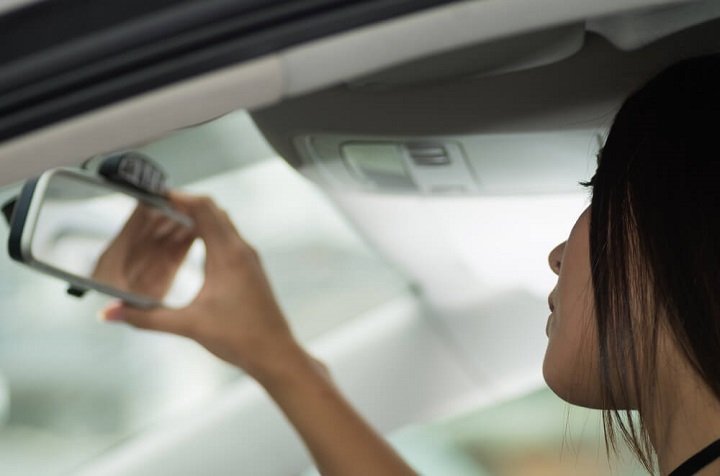
18. REPLACING THE REAR VIEW MIRROR: WHEN CHANGING A COMPONENT IS A LIFE SAVER
In 1911, the first rear view mirror was attached to a four wheeler. The general public got to see the rear view mirror for the first time when it was unveiled in the Indianapolis 500. But they became standard and mandatory only in the 1970s.
If the rear view mirror is cracked or is damaged, it should be replaced as soon as possible for you and your passengers’ safety.
You will need an Allen wrench, a putty knife or razor, crayon, alcohol and your new rear view mirror.
FOR INSTRUCTIONS ON HOW TO REPLACE, GO HERE.
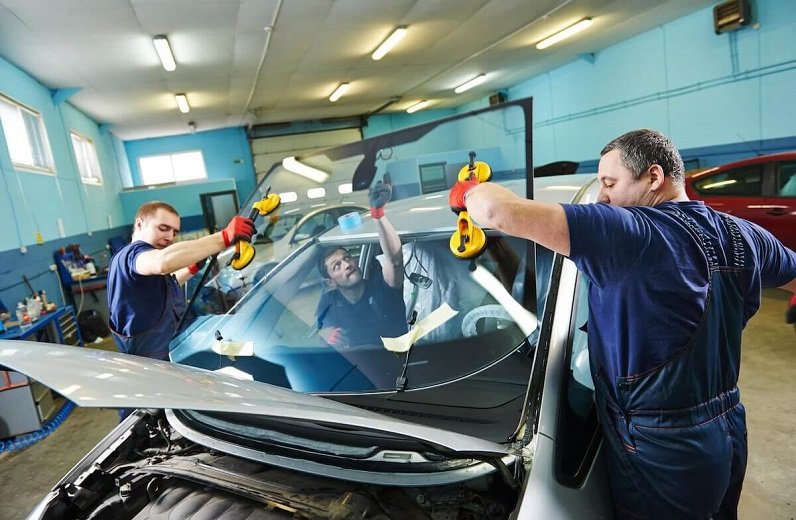
19. HOW TO SAFELY INSTALL YOUR FRONT WINDSHIELD: DIY VEHICLE REPLACEMENTS
Have you ever thought that replacing your front windshield is a DIY project that’s beyond you, you’re mistaken! With the right information in your hands and with help from friends who are knowledgeable, you can do it yourself and save a lot of labor costs!
Sometimes when a windshield crack is shorter than 3 inches, we tend to find it negligible. But when it’s longer than that, and the inner glass layer has been affected too, it’s really time to have it replaced.
You will need a razor blade, suction cups, caulk gun, windshield removal tool, urethane primer and urethane adhesive. And make sure you will have two knowledgeable people helping you out with the heavy lifting and other stuff.
TO CONTINUE WITH THE PROCESS, CHECK HERE.
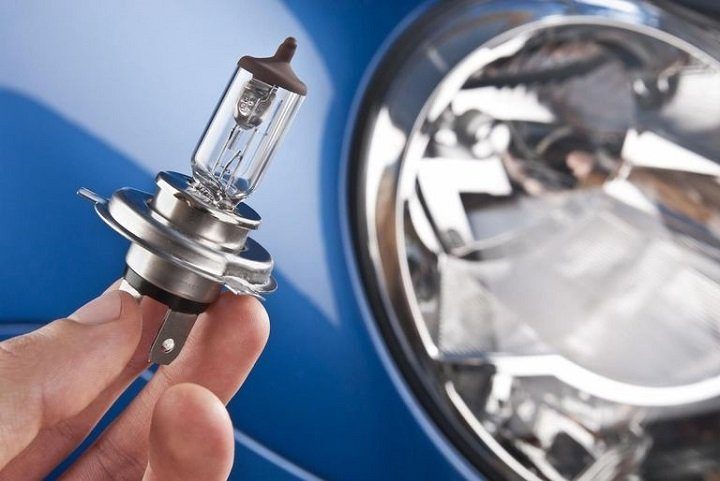
20. BEGINNER DIY HOW TO’S: CHANGING YOUR VEHICLE’S HEADLIGHTS
Your car’s headlights are your best friends when you’re driving at night. You won’t see a thing without them and you won’t last the night without bumping into something or someone or getting nabbed by the police. This is because operational headlights are mandatory by law.
When you have enough knowledge in changing them yourself, you save yourself a lot of expense because you avoid going to the shop to have the handymen do the job.
It’s quite simple. Go back to the car manual if you need to extract the whole headlight assembly to change the bulb inside or you simply have to unscrew some screws. And when you’re handling the new bulbs, use gloves because the bulbs are sensitive to skin contact and can shorten their lifespan.
FOR CLEARER AND LONGER INSTRUCTIONS, GO HERE.
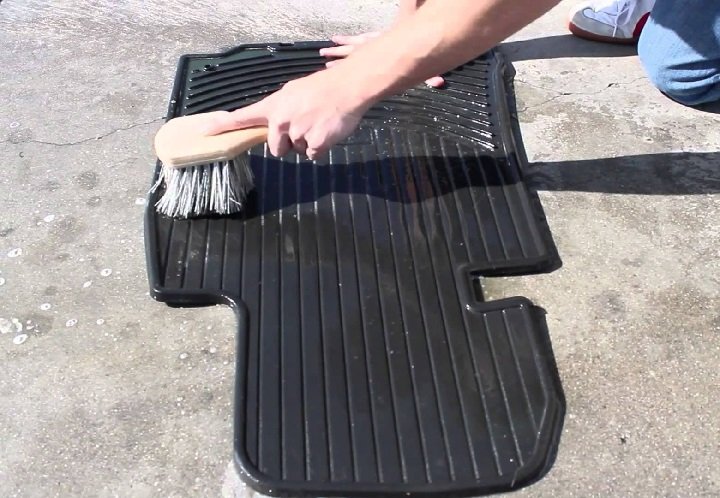
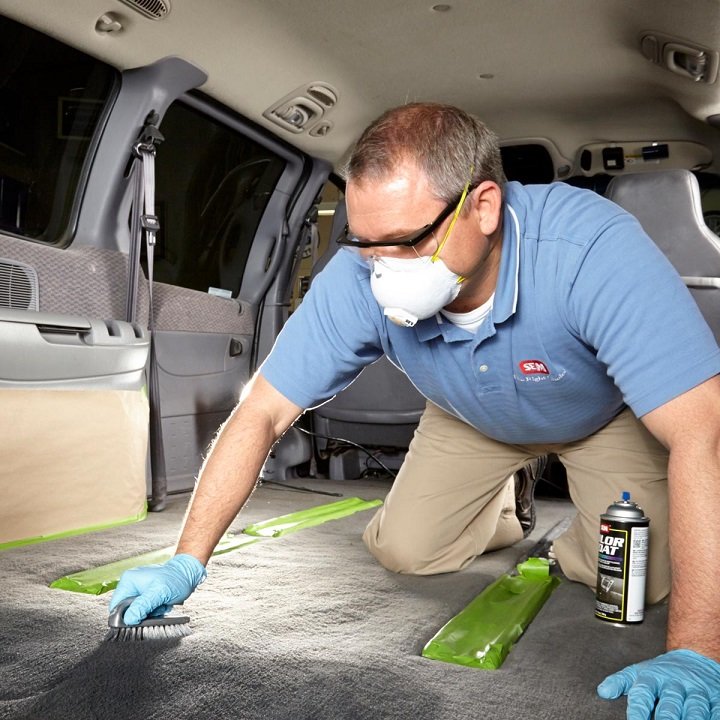
21. HOW TO CLEAN FLOOR MATS – PROLONG THEIR LIFESPAN AND KEEP YOUR CAR CLEAN
No matter how hard you try, dirt and debris are always going to accumulate on your car’s floor mats because people are always stepping on them.
They come in different materials like rubber, carpet, plastic and premium fabric.
When you’re ready to clean them by yourself, open all the car doors, and get the floor mats one by one. It’s best that they are dry when vacuuming them. When they’re damp, sprinkle baking soda and wait for 20 minutes before vacuuming.
Then, whack and shake the mats somewhere where the dust cascading can’t reach people.
THEN, YOU’LL CONTINUE WITH THE WATER HOSING PART WHICH YOU’LL FIND HERE.
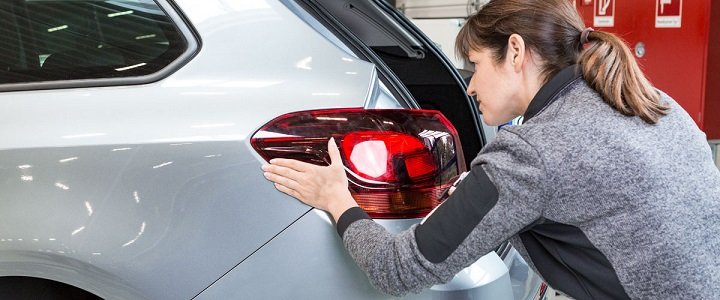
22. MAKING YOUR CAR SAFE FOR THE ROAD: CHANGING THE REAR HEADLIGHTS
Never ignore the importance of rear headlights on the road. They warn other drivers in advance of the next move that you’re going to do – whether you’ll continue forward, brake, turn left or right, or do a reverse maneuver.
When your rear headlights are faulty, the drivers at your back will be at a loss with your next move and accidents are very probable to happen.
You have to replace faulty rear headlights as soon as possible. If you can do it DIY, you’ll save a lot!
You will be needing a Torx T30 screwdriver for this task. Your vehicle’s handbrake should be turned on and the ignition should be off.
TO CONTINUE, GO HERE.
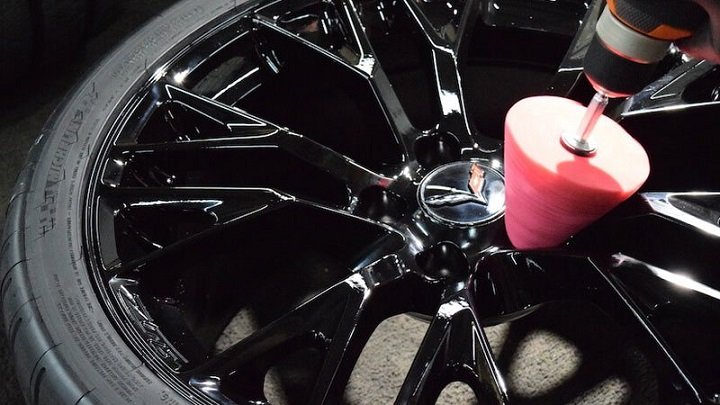
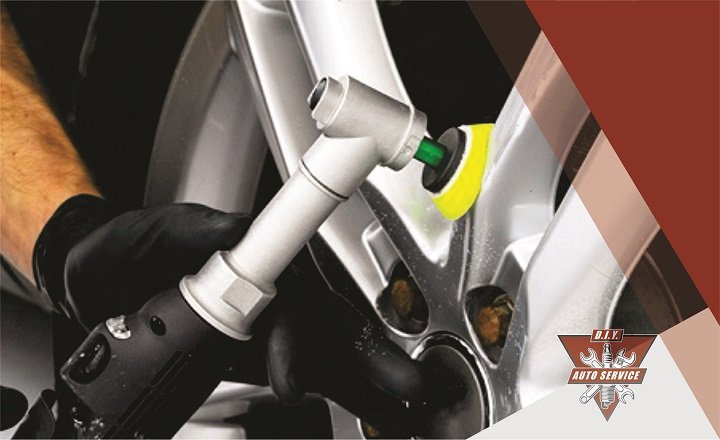
23. HOW TO BUFF AND POLISH ALUMINUM WHEELS AS A BEGINNER
More and more car enthusiasts are choosing aluminum wheels because of their corrosion resistance and their lightness which results in better fuel economy and increased acceleration.
As all things that get in touch with the road, aluminum wheels get dirty and dull looking. They need to be maintained with polishing products specialized for aluminum wheels.
As preparation, you should prep its surface first because there might be scratches and grooves. You need to buff it with buffing compounds. You should have just the right revolutions per minute with your hand when you buff and your pressure should be just right.
TO CONTINUE THE PROCESS, CLICK HERE.
24. HOW TO TAKE CARE OF YOUR VEHICLE’S PLASTIC EXTERIOR AND INTERIOR
The use of plastic in our car’s exterior and interior parts is inevitable because plastic is easy to manufacture to any desired shape and it could be matched to your car’s color.
Among these parts are door panels, bumpers, interior trim, covers and close out panels.
For the interior plastic parts, you can either vacuum or dust them off to get dirt off them. For stains, get a laundry detergent, mild soap or plastic auto cleaner and apply it on a damp cloth before proceeding to clean the stained area.
This just covers a small part when cleaning the interior plastic parts.
We still have to touch on cleaning the exterior plastic parts. CLICK HERE.
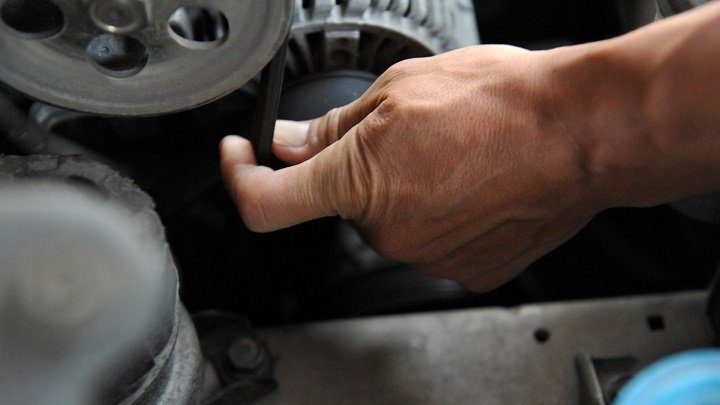
25. REPLACING THE SERPENTINE BELT – HOW TO DO IT AS A BEGINNER
The serpentine belt is an undervalued and underrated component of your car which is actually very important.
It snakes around, and it is long and winding for the purpose of keeping the steering pump, alternator, air conditioning and the water pump working effectively.
The usual lifespan of a serpentine belt is 50,000 to 100,000 miles, but there are other visual cues which tell you that a replacement should be upcoming.
If you measure it with a gauge and press it into the groove of the belt and it sits above the ribs, it means the serpentine belt is still in good condition.
FOR OTHER VISUAL CUES AND FOR THE REPLACEMENT PROCESS, CLICK HERE.
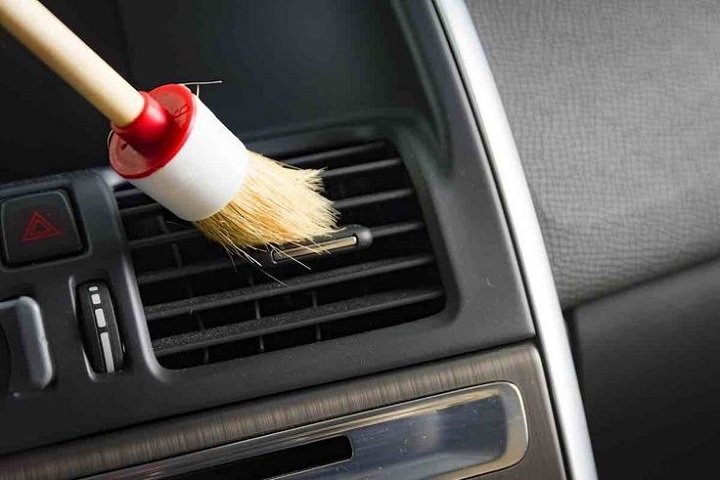
26. DIY CAR GUIDES: CHANGING THE CABIN AIR FILTER
This filter blocks debris like pollen and dust from entering through the heating and cooling system of the car. The cabin air filter is located behind the glove compartment.
It is estimated that it needs to be replaced every 12,000 miles or at least once a year. Indicators that you need a new cabin air filter are windows fogging regularly, lower gas mileage and your cooling and heating systems are not that efficient.
Because the cabin air filter is located at the back of the glove compartment, you should get everything out before extracting the glove compartment.
You won’t need any tools for this procedure and you just have to follow INSTRUCTIONS HERE.
27. HOW TO REMOVE MOLD FROM YOUR CAR – MAKE YOUR RIDE A CLEANER AND SAFER SPACE
Mold can be found anywhere and your car is no exception. Mold thrives when there are high moisture levels and low temperatures. It’s a fungus that causes serious health issues in people who are sensitive like those with compromised immune systems.
You can remove mold from your car DIY and you will make the ride of everyone riding in the car a safer one due to the cleaner environment.
Before you start, you should have the following: a surgical mask, pair of gloves, white vinegar, clove oil, baking soda and detergent.
CONTINUE WITH THE PROCESS HERE.
28. FIXING YOUR CAR’S EXTERIOR: HOW TO REMOVE SCRATCHES ON YOUR OWN
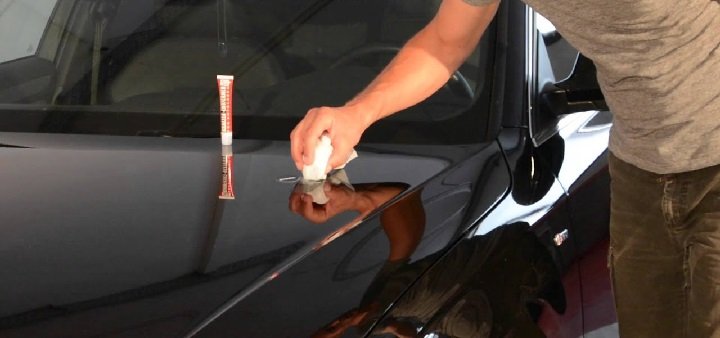
The paint of your car has two functions – aesthetics for the beauty and elegance that it shows to everyone and for protection from the elements and other factors.
The paint has three layers – the primer, the base color coat and the clear coat. But it can’t be avoided that the car will get annoying scratches every now and then.
For moderate scratches, give that area a good wash first. Then dry it off with a chamois.
Put in rubbing alcohol into the scratch to get dirt and debris. Then apply scratch removal material on a buffing pad and apply on the damaged area.
WE’VE JUST SCRATCHED THE SURFACE. TO PROCEED, CLICK HERE.
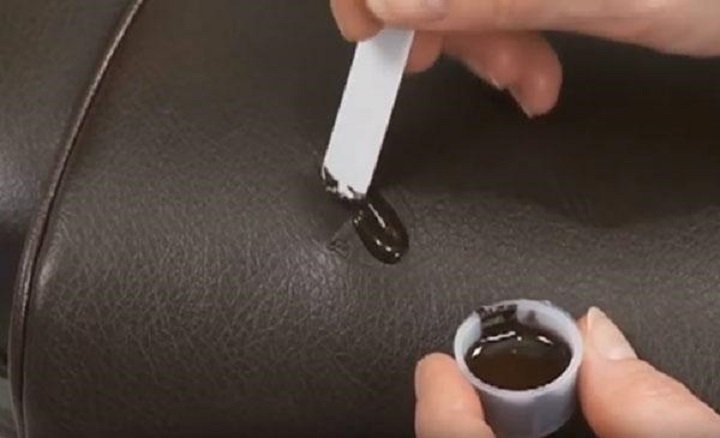
29. DIY VEHICLE INTERIOR REPAIRS: HOW TO FIX LEATHER SEATS
Leather seats give your car a luxurious looking interior. But time and constant use will make the leather dull and also get some damage. Plus the heat of the sun will make the color fade and even give it some cracks. Sharp objects can make tears on them too.
You wouldn’t want to look at the leather after it gets a tear. But you have to confront it and give it a solution or it will get bigger.
First of all, clean the leather with mild soap and a damp rag. Remove any dirt or grime and allow the leather to dry before proceeding.
For the rest of the instructions, GO HERE.
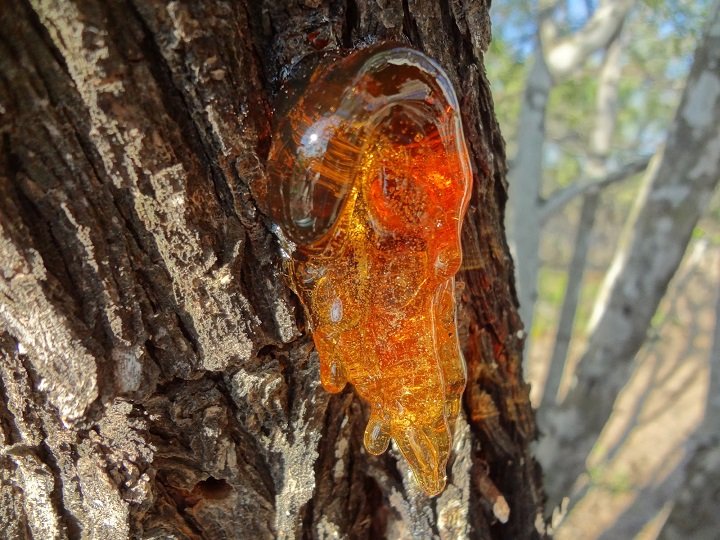
30. THE BEST WAY TO REMOVE TREE SAP FROM YOUR CAR
Your car’s paint gets tortured every day. Not only the heat of the sun bullies it but also bird droppings, oxidation and tree sap.
Tree sap is a sticky substance from a tree which contains sugars. When they drop on car paint and they get ignored, and they dry out, it works like a parasite wherein it bites into a clear coat, then bores through the paint layer.
To clean tree sap off, you need a bucket of water, sap removal solution, rubbing alcohol, clean terry cloth, and a box cutter blade.
WE’VE JUST SCRATCHED THE SURFACE OF THIS DIY PROJECT. PROCEED HERE.
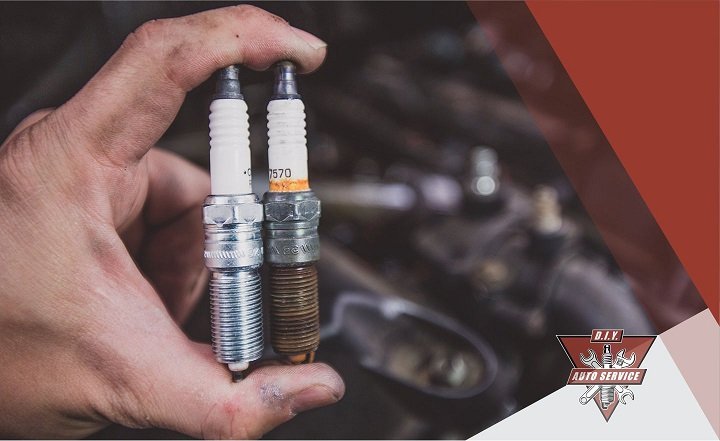
31. HOW TO REPLACE SPARK PLUGS? DIY AUTO SERVICE GUIDE
The spark plug generates the spark needed to ignite the mixture of air and fuel in your car engine’s combustion chamber.
But like any car component, it also has a lifespan. It needs to be changed every 30,000 to 80,000 miles.
No need for you to go to a mechanic to have it replaced. With the right information delivered to you, you can do it yourself and save money!
There are some cues which tell you that you need spark plug replacement. When your engine light keeps on flashing, that’s a sign. Other symptoms are when you’re having trouble starting the car or when your car starts becoming a gas guzzler.
For the complete spark plug replacement instructional guide, CLICK HERE.
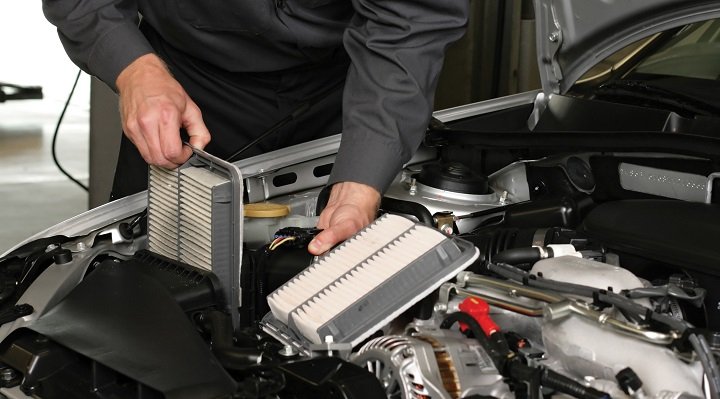
32. HOW TO CHANGE THE AIR FILTER – KEEP YOUR VEHICLE RUNNING AT ITS BEST
Your car has a number of filters. One of them is the air filter. It is the nose of the engine and the cleaner it is, the more efficient your car will be.
Making it clean is okay, but there will be a time when you need to replace it.
Park your car on a flat surface with the parking brake on and the vehicle set into first gear or park. Then turn off the ignition.
Open the car hood and let it remain open with the prop rod. You can now remove the air filter cover on the airbox.
CLICK HERE TO CONTINUE WITH THE INSTRUCTIONS.
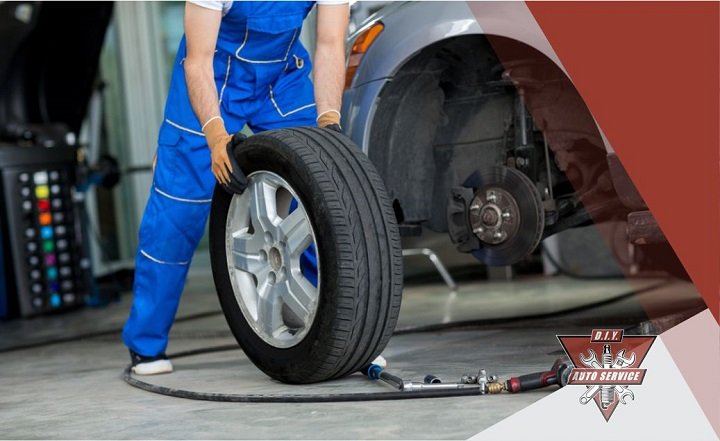
33. DIY CAR BASICS – HOW TO REPLACE YOUR TIRES
This is one of the most common DIY projects. A flat tire is a common occurrence when you have a car and you can’t keep running to handymen when it happens to your car. You should know the basics, so that you can work on it right away and waste no time. Even if you get some grease on your skin.
It is best not to let your tires run through anything suspicious on the road which might puncture them. Having a flat tire is an experience which will make you waste a lot of useful time, so be good to your tires.
You need to have a jack, a spare tire and the necessary tools all the time in your car to be able to replace a flat tire.
FOR COMPREHENSIVE INSTRUCTIONS, GO HERE.
34. CLEANING ALUMINUM WHEELS – HOW TO DO IT PROPERLY
You should clean your aluminum wheels regularly to avoid the accumulation of brake dust.
Brake dust is a mixture of adhesive and carbon fibers that are generated every time you drive your car. The brake dust becomes hot and highly corrosive and when left on the aluminum wheels, will make them rust.
Aluminum wheels have become in recent years more in demand than steel wheels because they are lighter. Thus, they increase fuel economy and make the car accelerate faster. Take care of them and they will take care of you.
FOR EXTENSIVE INSTRUCTIONS ON HOW TO PROPERLY CLEAN ALUMINUM WHEELS, GO HERE.
35. SIMPLE DIY GUIDES: THE BEST WAY TO CHANGE YOUR CAR’S ANTIFREEZE
Engine components need to perform at their very best at specific temperatures. That’s why they need antifreeze.
This liquid helps control the temperature of the engine at all times. Antifreeze is thought to be another name for coolant, but they are different. But both also help prevent corrosion.
Antifreeze has a lifespan and it should be changed every 30,000 to 50,000 miles.
Park your car on a flat surface and don’t start anything until the radiator cools down considerably, which is approximately a few hours.
FOR THE WHOLE PROCESS, CLICK HERE.
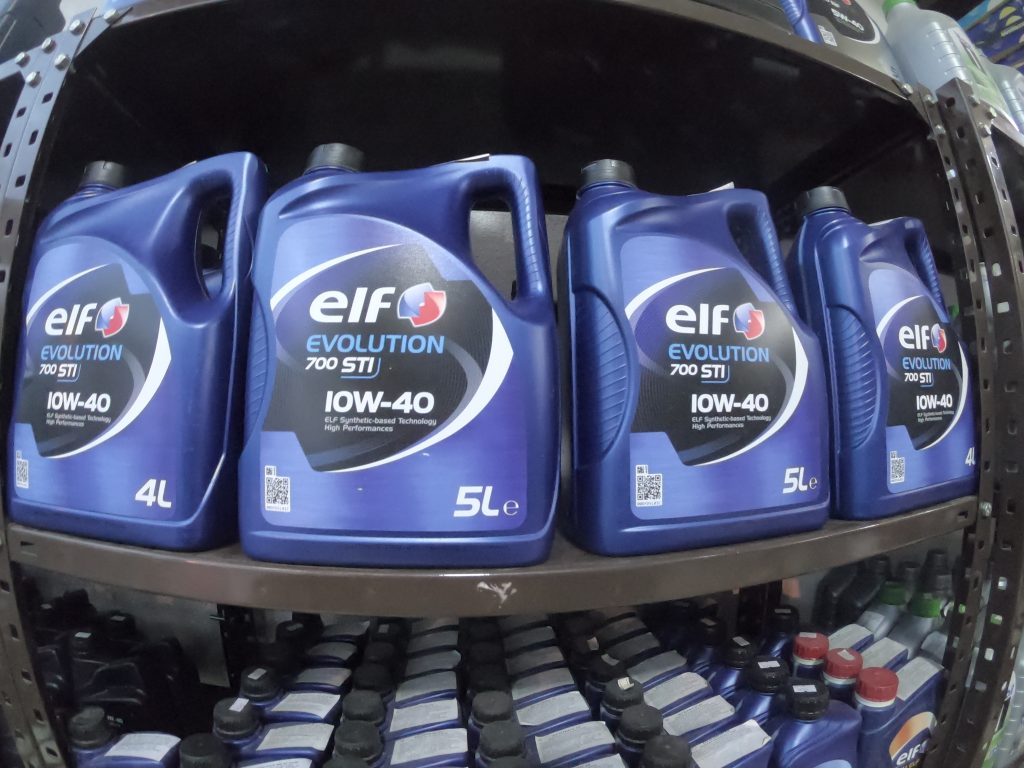
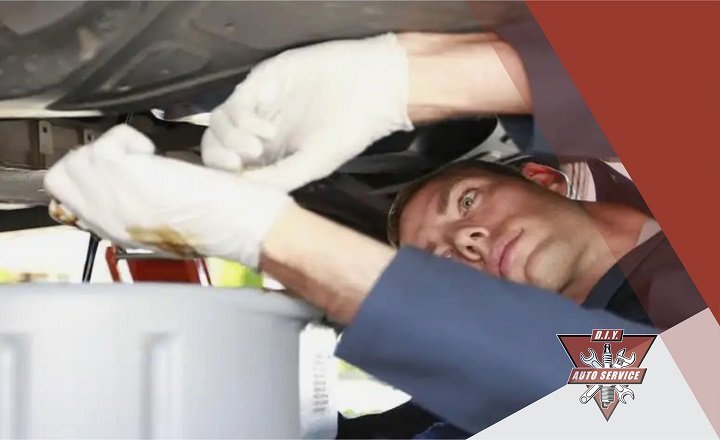
36. DIY VEHICLE MAINTENANCE: HOW TO CHANGE YOUR CAR OIL AND FILTER
Changing your car oil and filter is probably one of the more frequent maintenance projects that is essential for the continued healthiness of your car.
Much better if you do it DIY because you can do it in the comfort of your home minus the labor costs when you have the procedure done in a shop.
The objective of changing the oil is to maintain the engine’s lubrication and to keep the engine’s components cool. An oil change also maintains fuel economy and makes the lifespan of the car longer.
A car oil change and filter change is recommended every 7,500 miles.
FOR THE PROCEDURE, CLICK HERE.
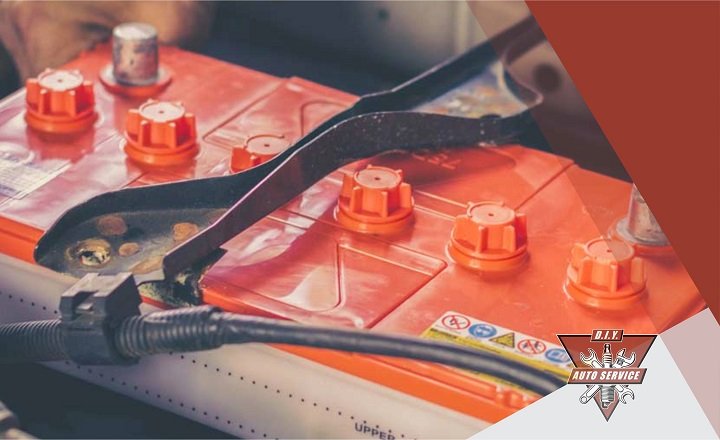
37. HOW IT’S DONE DIY GUIDE – REPLACING A CAR BATTERY ON YOUR OWN
SLI (Starting Lighting and Ignition) batteries are the most common car batteries wherein they have a shallow charge cycle and deliver power in short bursts.
There are other types of car batteries, but no matter what you have, the fact is at some point in time, you need to replace your car battery.
One obvious sign that your car battery is ready to be replaced is when you have a hard time starting your car. And one other danger that you’ll encounter is that your car will stall anytime on the road if you continue postponing car battery replacement.
For the complete process, CLICK HERE.
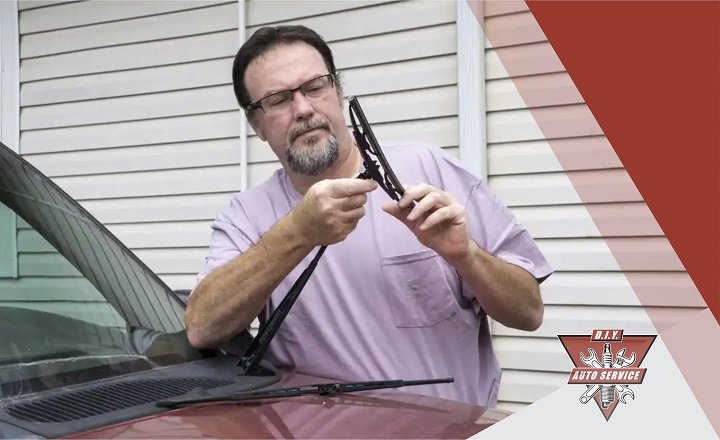
38. CHANGING YOUR WINDSHIELD WIPERS – BEGINNER’S DIY GUIDE
Windshield wipers have come a long way. They were invented in 1903 when the inventor decided that there should be something to fight a rainstorm when you are driving in your car.
In 1913, they became standard car equipment. In 1962, intermittent wipers were introduced. In the 1990s, micro sensors were added to wipers to make them work immediately when rain was detected.
One sign that your windshield wipers need replacement is when they don’t work smoothly anymore because their blades have become worn and when they leave behind specks of rain on their path.
FOR THE REPLACEMENT PROCEDURE, GO HERE.
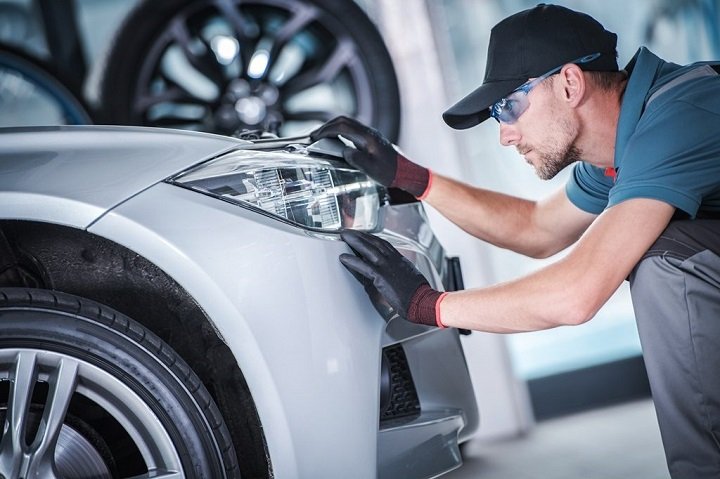
39. HOW TO RESTORE YOUR CAR’S HEADLIGHTS – 5 MOST EFFECTIVE WAYS!
Are your headlights foggy and yellow? Are they becoming cloudy? Restore them yourself! You can do the DIY activity yourself, armed with the proper knowledge.
The procedure that you’ll learn is effective for cloudy lenses, removing scratches and improving visibility of your headlights. It also enhances the aesthetics of your car. It would take time, but you will save money because you restored them! You didn’t buy new headlights!
What are the 5 ways? Arm yourself with the necessary headlight restoring knowledge. GO HERE.
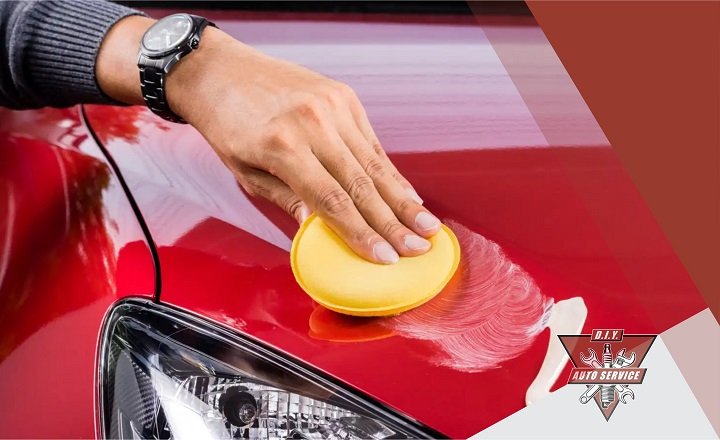
40. DIY HOW TO’S: POLISHING YOUR CAR FOR THE FIRST TIME
Car polishing is important to enhance the appearance of your vehicle and also to maintain it well and increase its lifespan.
Car polish could come in the form of sprays, creams and liquids. When you notice scratches, paint spots or rust, polish right away.
Before starting any polishing, give your car a good wash. Wash meticulously section by section, in preparation for the polishing later. Because dirt and debris should not be on the car surface before you do the polishing.
For the polishing process, CLICK HERE.